

Alex Fergus sharing the most important elements of How To Use Red Light Therapy 101: Know THIS For Starters
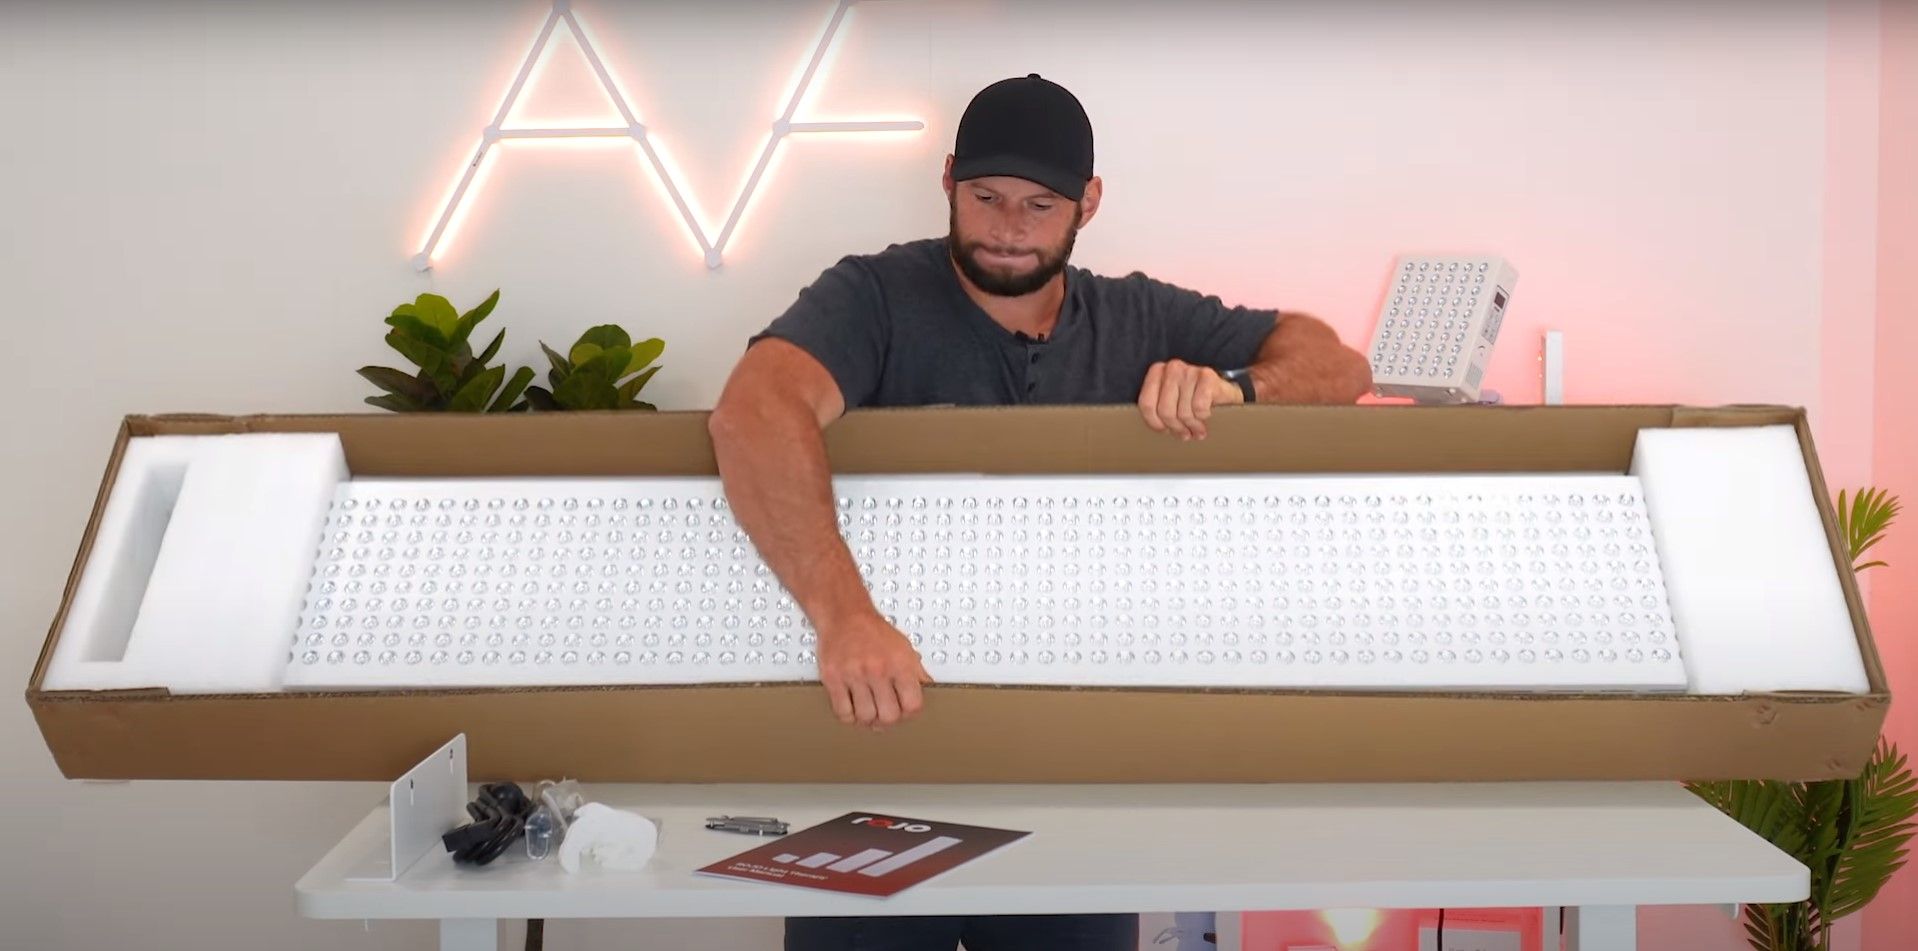
So you've just received your red light therapy panel, and you're not too sure what to do next. I'm happy to explain the key things you need to know about your brand new panel, how to set it up, and then most importantly, how to use it.
My primary objective here is to share important information for new users about panels in general whether that's a small tabletop panel, a mid-sized wall panel, or the largest full body panels. Even though every panel is different, there are a lot of similarities.
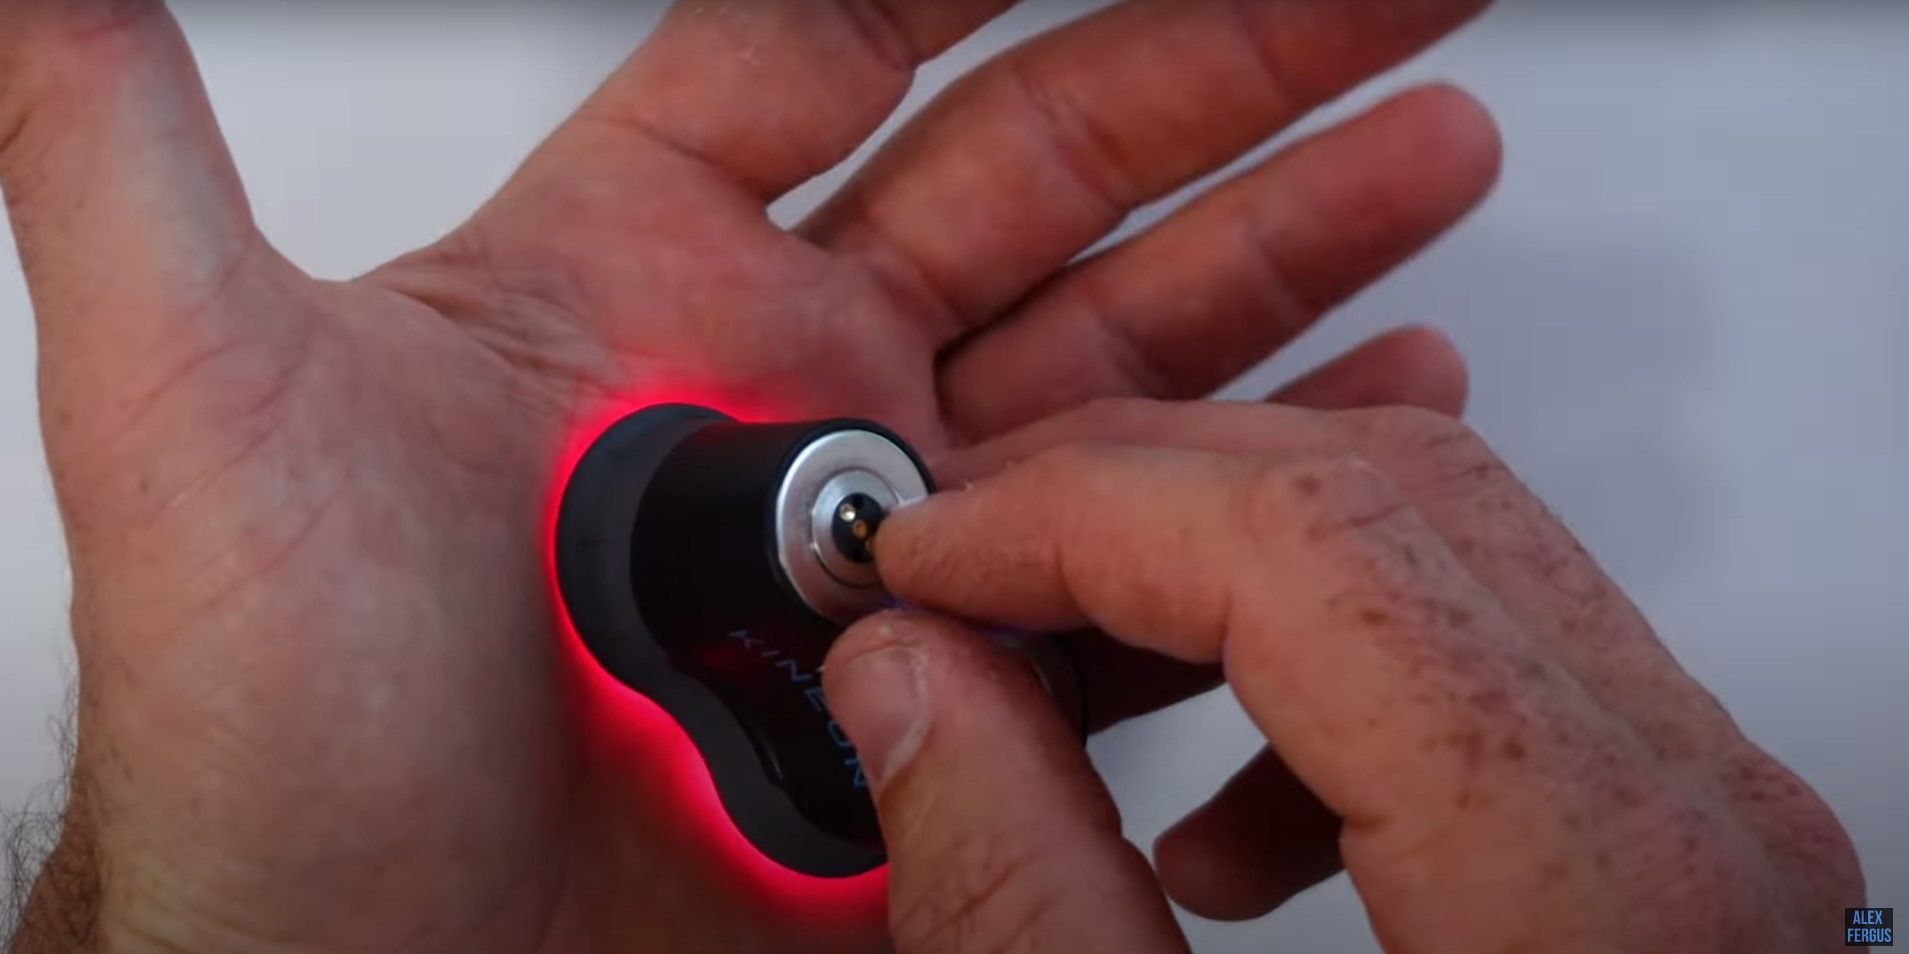
I've tested and used many different types of light therapy products which enables me to give you all the key pointers. This YouTube video shows my testing methods. Even if your product is something entirely different such as a portable battery powered device, you're still going to get a lot of value from this.
I'll give you everything you want to know about about your light therapy panel that's fresh out of the box. Still, it's always a good idea to read the specific manual that comes with your unique product.
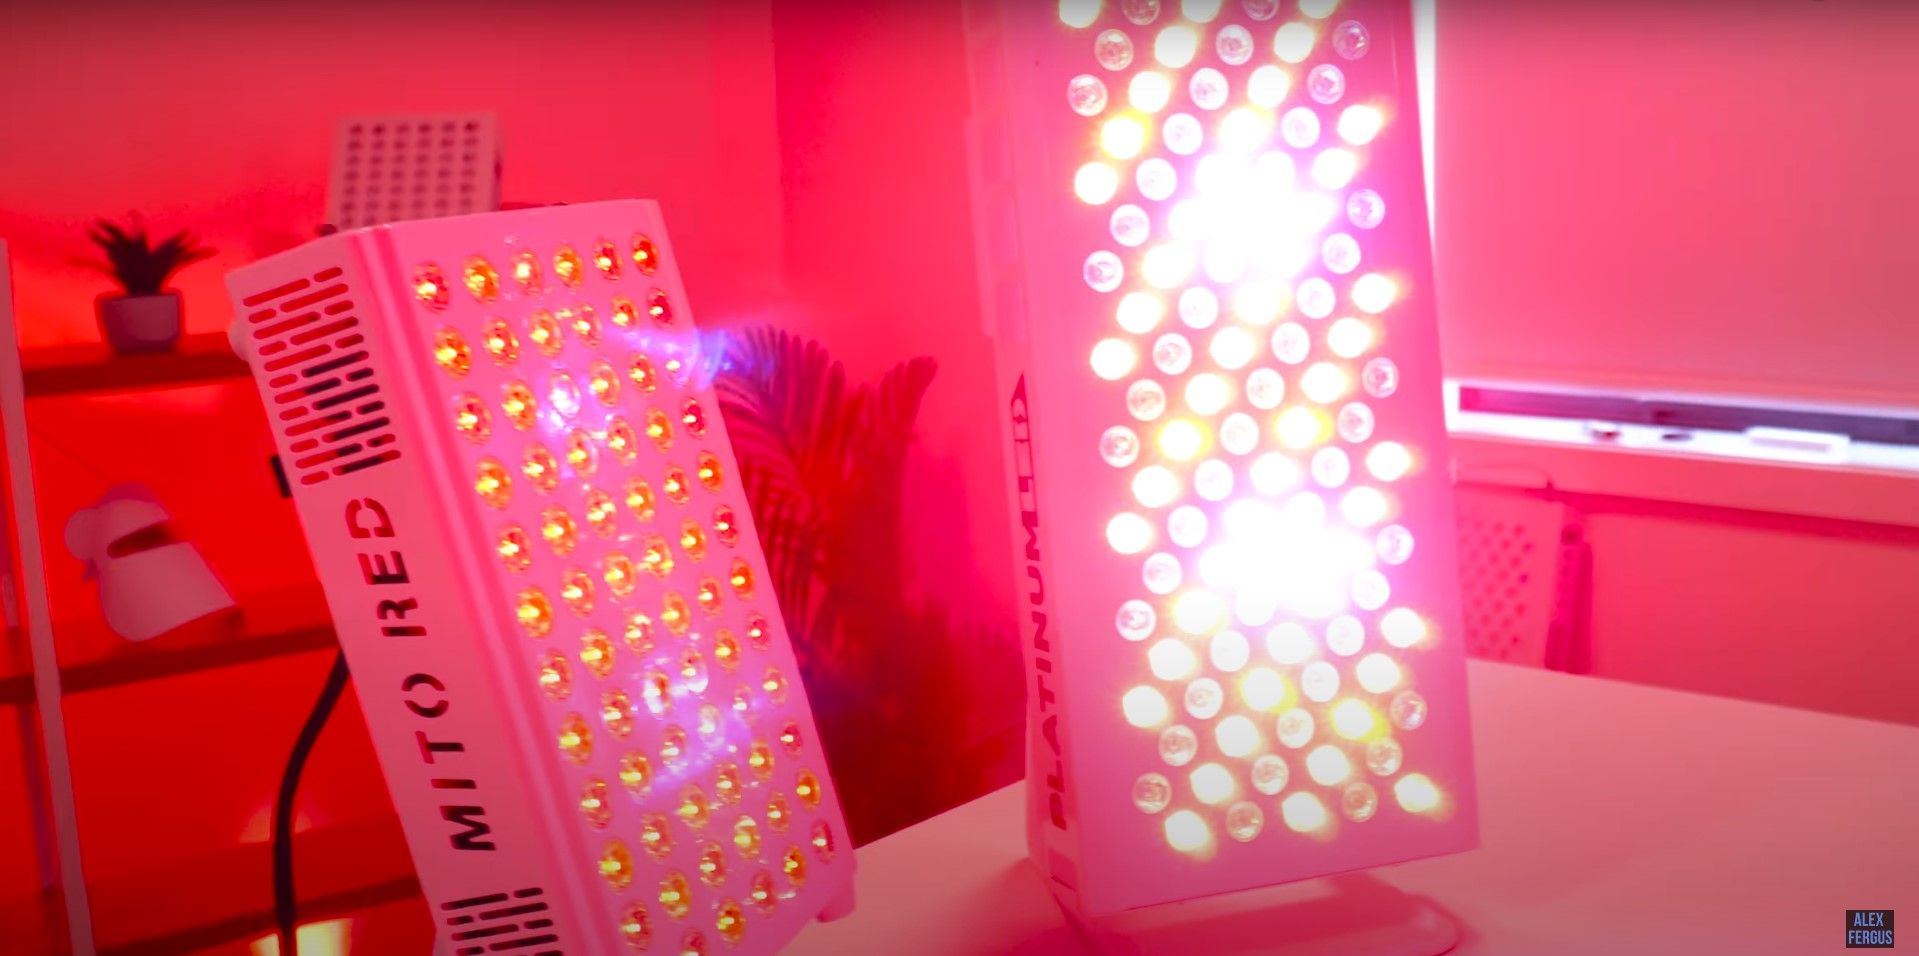
On the front of the panel, you're going to see all the LED bulbs. If you're looking closely, you may actually see the little light emitting chips in each bulb. Some panels have one chip. Others have two or even three. These chips emit the beneficial light that we're after.
On the side of the panel, you'll see a control panel. Now, that may be on the face of the panel instead. In fact, some products don't have any control panel.
On the back of the panel, you'll see a few vents for the fans. You may even see there are rubber feet that have been already screwed onto your panel, or you may need to screw them on yourself.
On the top of the panel, you may see some screw holes, and we can circle back around to more on those later.
You will notice a lot of vents around your panel. It's important to not block these vents. Light therapy LEDs do put out a lot of heat. That's why there are fans in the panels. Good air ventilation is necessary, so you'll want unrestricted air flow to keep your panel cool to keep it from overheating.
If you are curious to know how much it costs to run these panels that emit so much light and heat, here is a video where I share my energy bill costs.
First-Time Panel Setup
Now that you've gotten a good look at your panel let's get it up and running. Conveniently, some panels will come already set up with the rubber feet on the back already screwed in, and the hooks are on the top, so you just take it out, plug it in, and away you go.
It's still simple enough even if you need to screw the rubber feet into your panel. If you're planning on hanging it from a hook, then you're also going to screw in any metal cables included in the box.
Realistically, if you're not going to hang yours from a hook or the back of a door because you're planning to lean it against the wall (or maybe you've even bought another stand to use with it), then you don't need to screw those cables in.
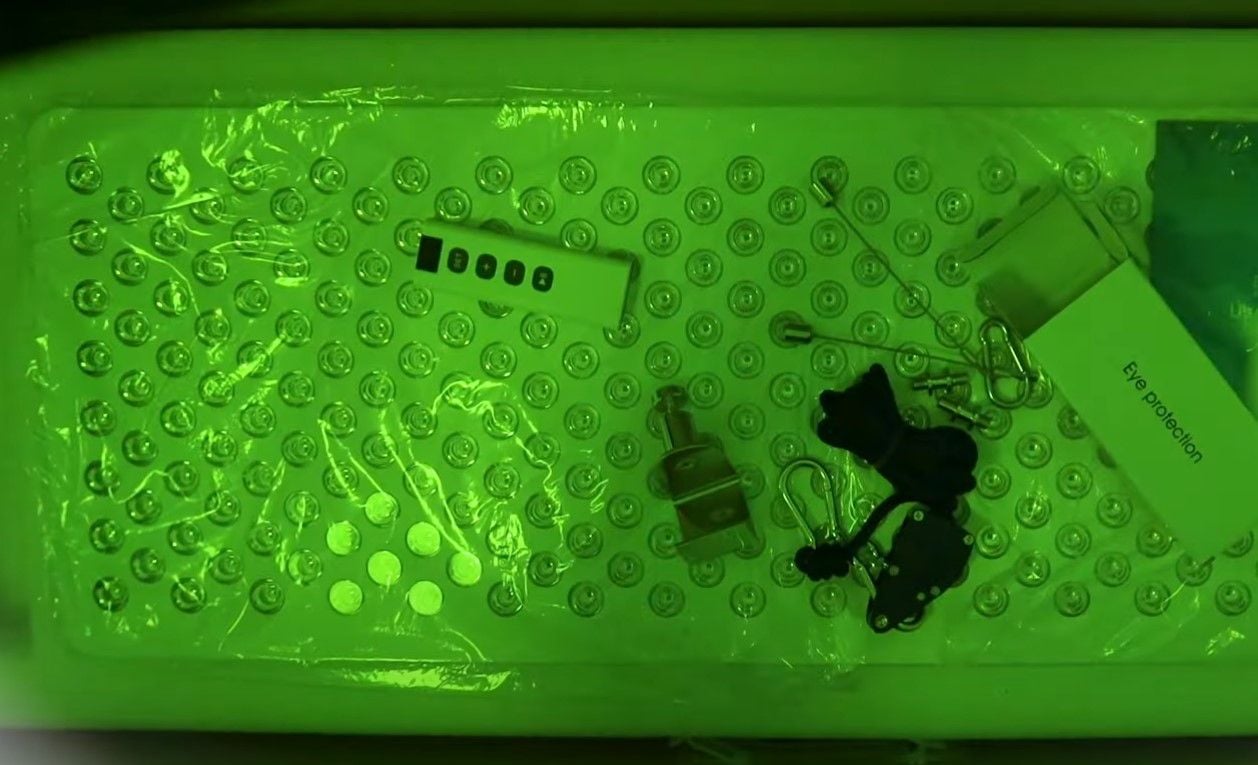
Typically, when you buy a red light therapy panel especially a larger one you'll see some included accessories. Often you'll see a door hook this is designed to sit on top of a door so then you can hang the panel off the supplied hook.
You may also see a rope pulley or a chain. That's so you can adjust the height of your panel when it's hanging from a hook whether it's a door hook or a fixed hook on a wall.
If you're not hanging it from a hook and instead you're going to use a stand, you have to look at the instructions that came with the stand in terms of how to set it up. Some stands (such as the Joovv stand) are super easy to use. You just click those stands into place.
Others, such as the PlatinumLED motorized stand are going to require a little bit of time and some tools. Once you take a moment to see how it will be set up, it's quite straightforward. It is just a bit time consuming.
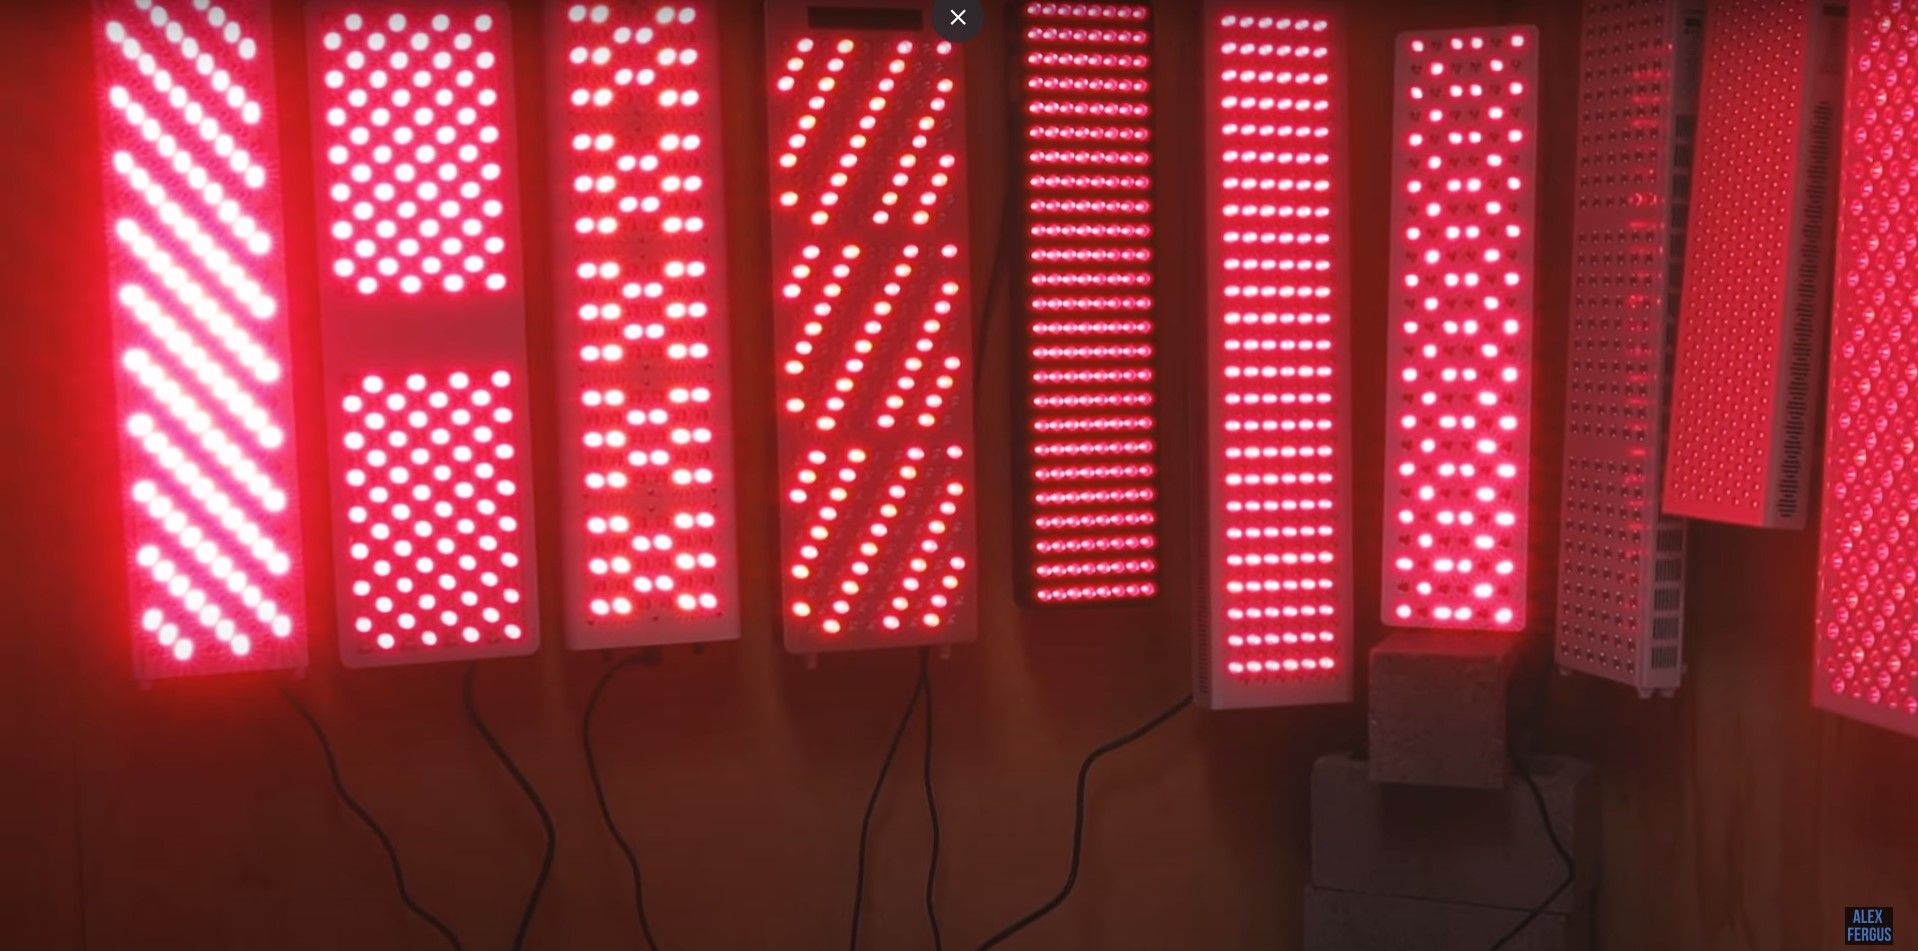
If you've purchased multiple panels, you can connect them all together as you can see in this video of my home setup. Every product is different. Some require cable connections. Others like the BioMax range of panels are all done wirelessly. I'm not going to go into how to connect them in this video because every product is unique, so refer to your manual for how to connect them together.
Your last step is to plug the power cable on the back of your unit into the wall outlet or other power source. Now, you're all set up and ready to go. To turn it on, first to turn the power on at the wall if need be.
Next, locate the master switch on the back of your panel. Once that master switch is on, you'll turn the lights on through the control panel. I should give you a heads up that some panels light up as soon as you turn the panel's master switch on, so just be ready for that possibility.
Starting The Panel
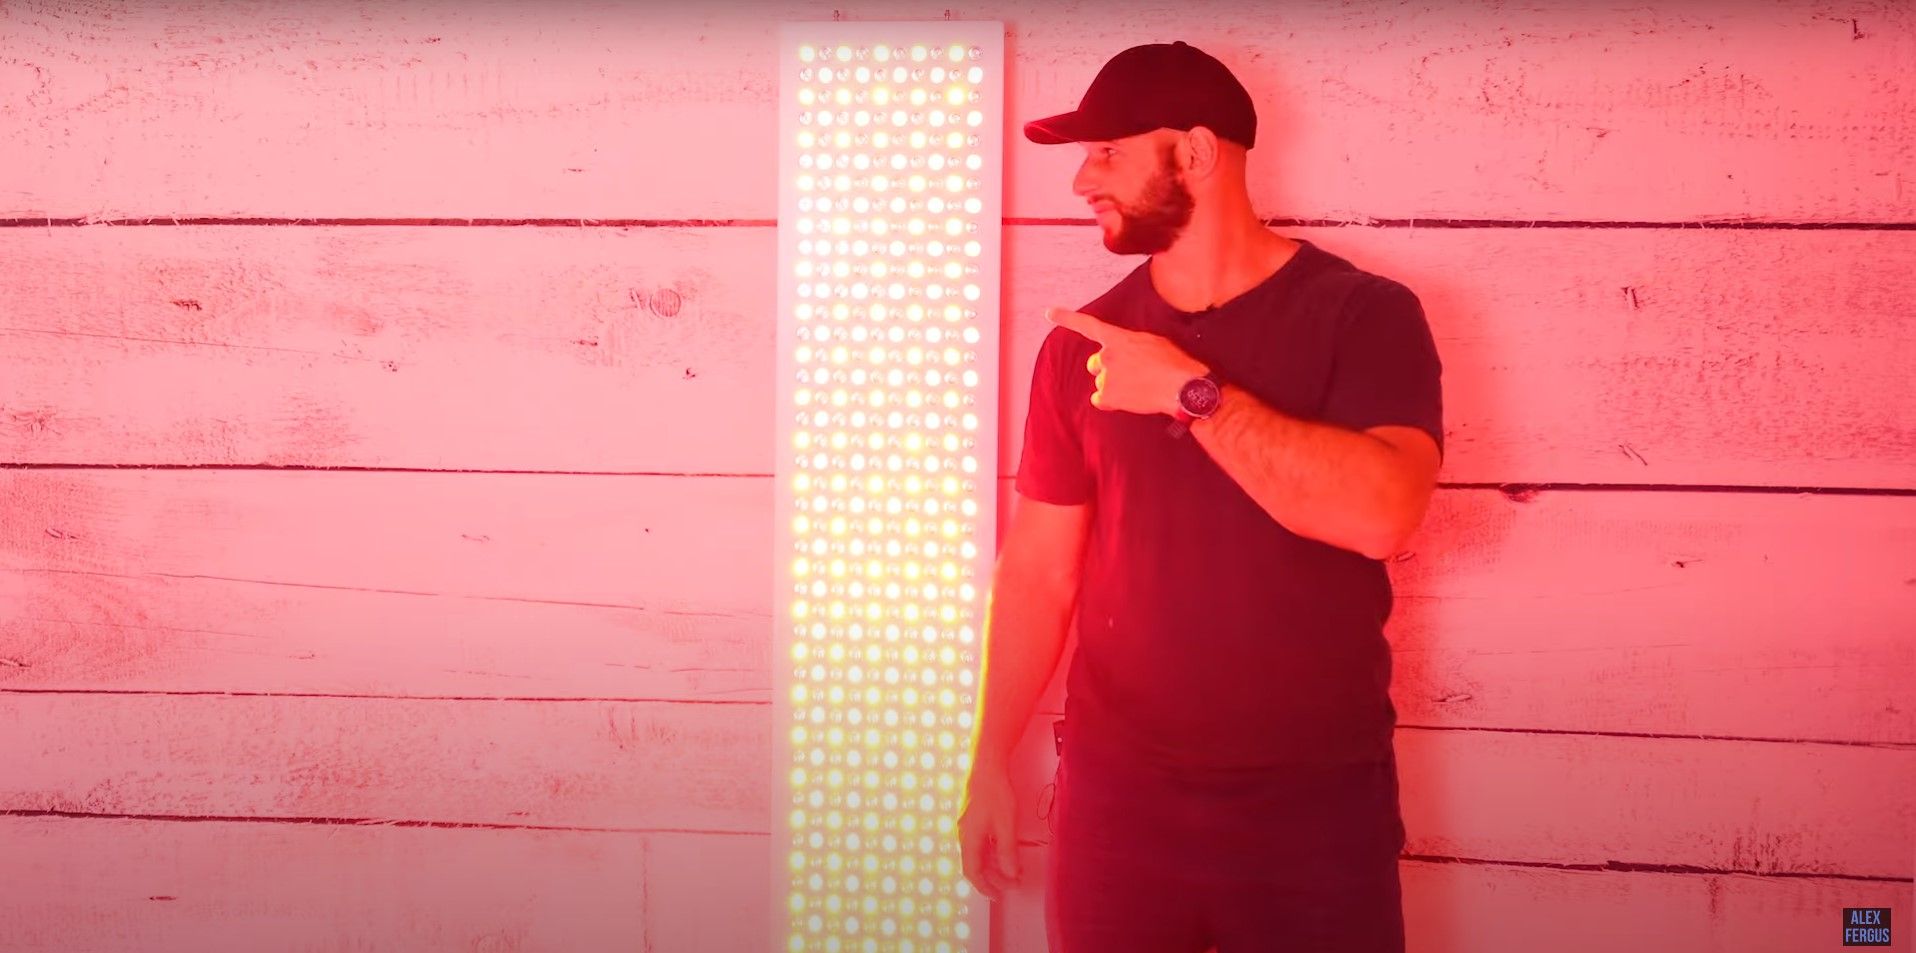
When you turn it on, you'll notice immediately how bright these lights are. You won't want to look directly at the front of the panel because that would give you quite a surprise. You would only do that once. Trust me on this one.
Another thing you'll notice is the sound. These panels have the fans to keep them cool. Some are quite loud. All my red light therapy reviews include my measurements of the sound levels because I know some panels can be quite loud.
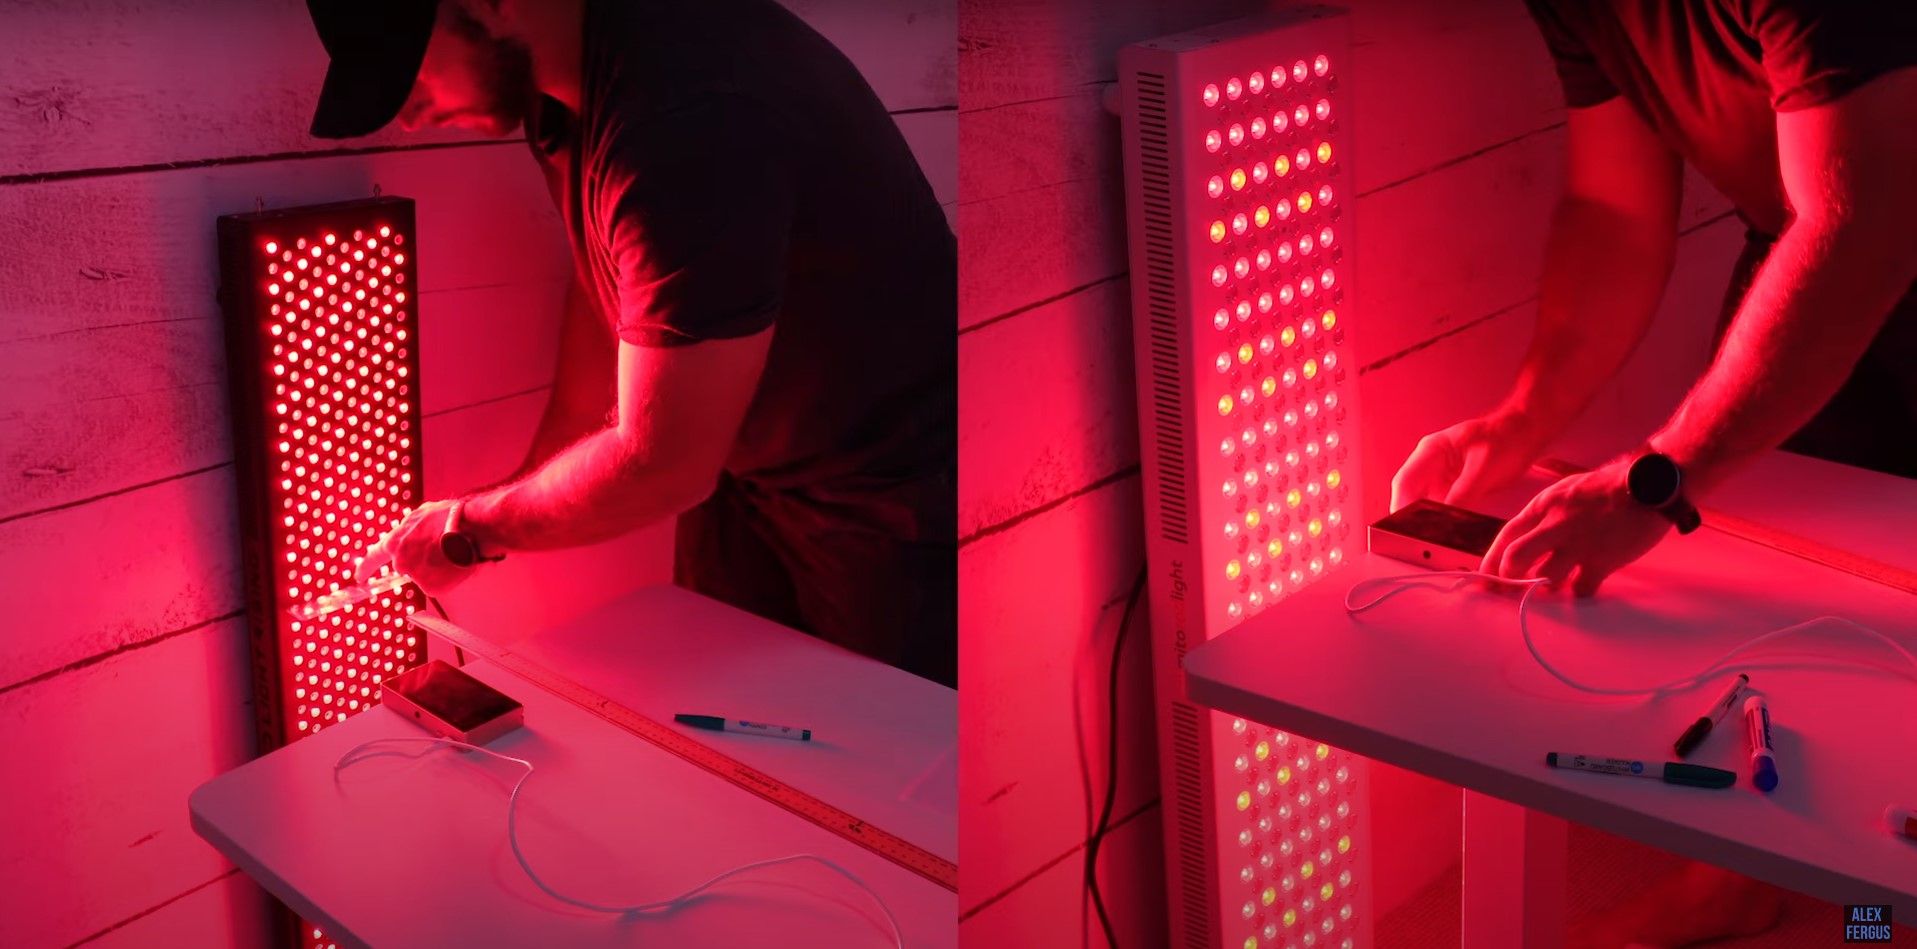
At this point, you may be looking at your panel and thinking, "Huh? Well, it looks like only half of the lights are working." Granted, some panels do have an option to disable or lower the intensity in select bulbs which we'll get into more later.
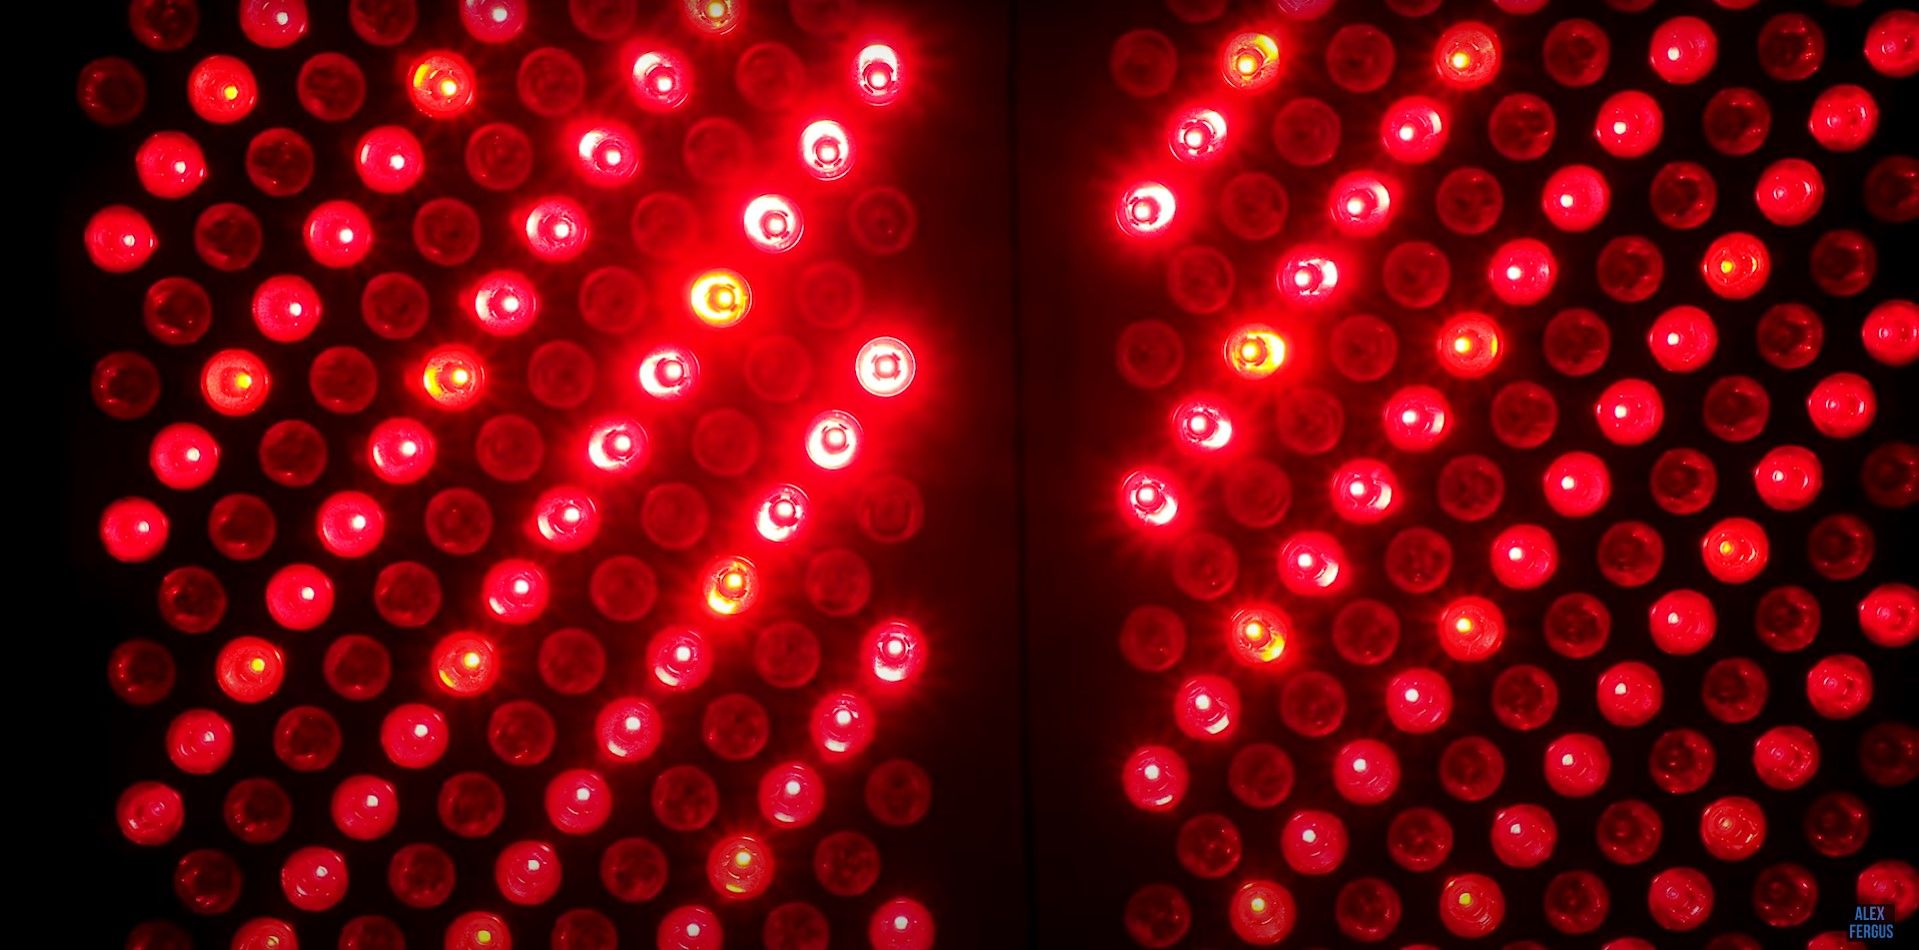
It's noteworthy that most red light therapy panels use a mix of red therapeutic light (620 - 780 nanometers) and near infrared therapeutic light (800 to 2,500 nm). The near infrared light is actually invisible to our eyes. We can't see it at all because it is beyond red on the light spectrum, so it's going to look like nothing's happening with those LED bulbs.
There really is light being emitted from each of those LEDs, so don't freak out if it looks like half or a third of the lights aren't glowing. (Although, a few members of the animal kingdom are the exception. Humans can only see near infrared light very faintly if it is a high-intensity light or a rapidly-pulsed light.)
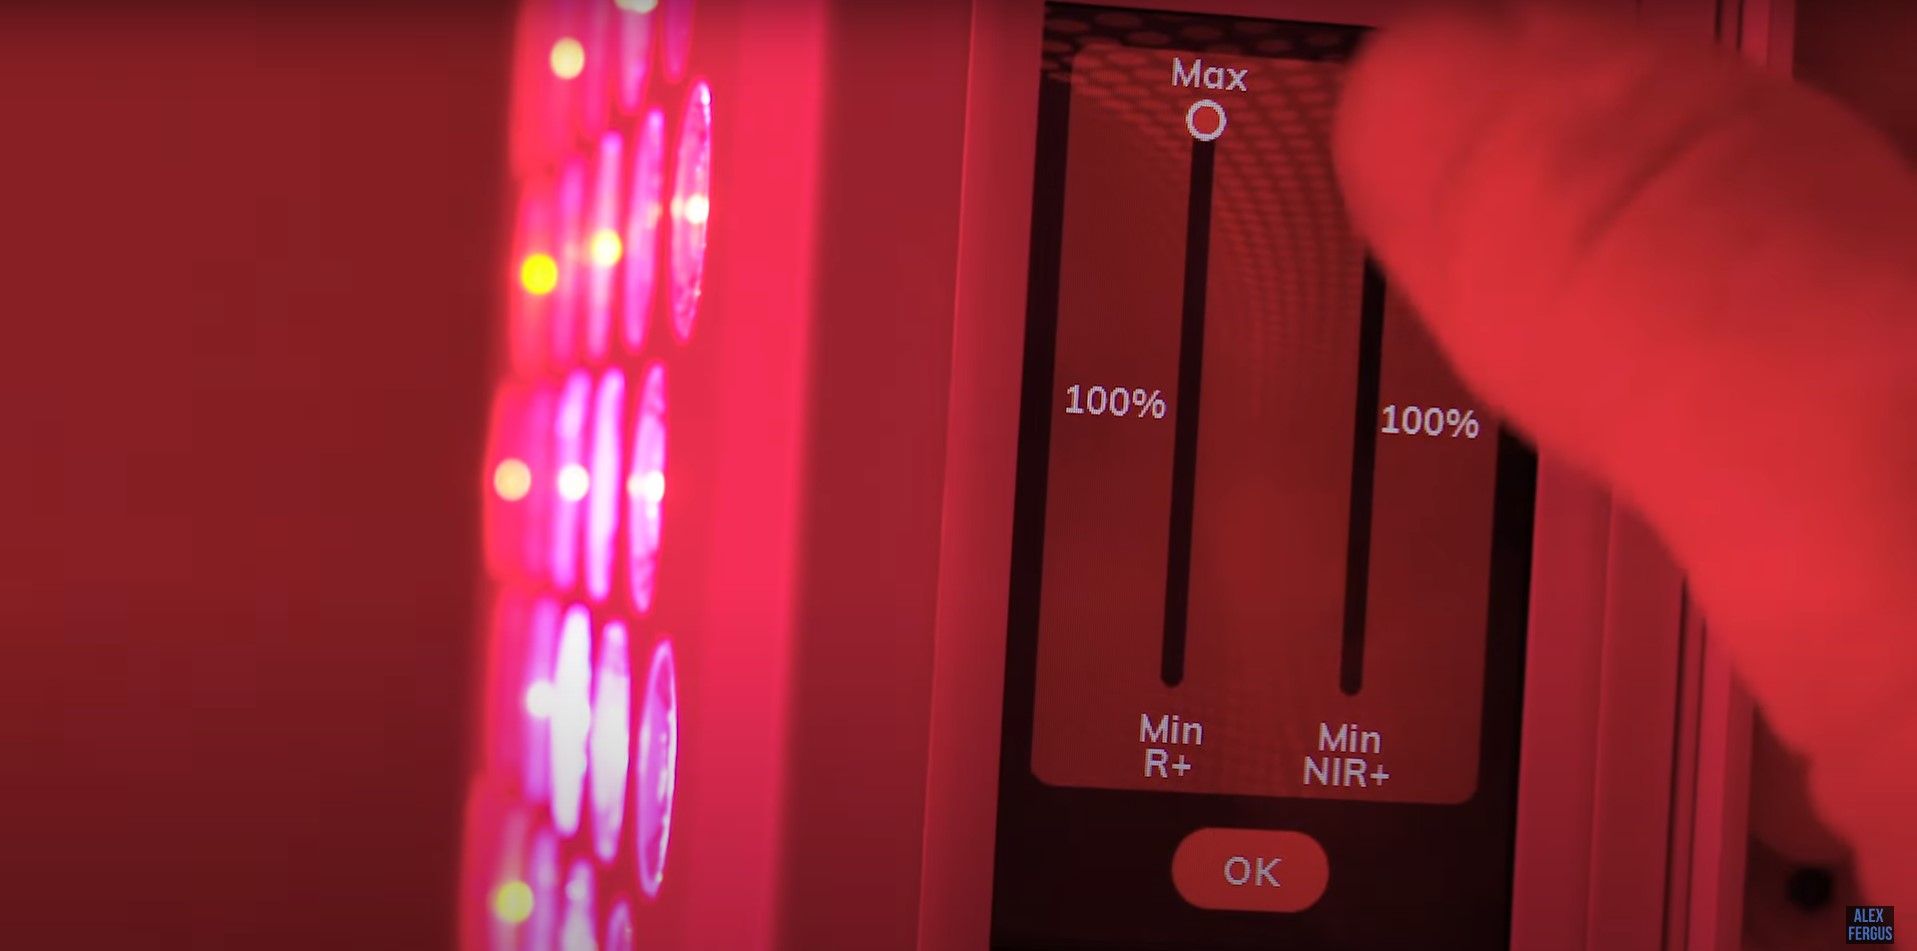
Let's check out the control panel next. Every company's control panel is different, so I'm giving you a high-level overview. You can hit start or play to make the lights come to life and run for 10 minutes or so. Commonly, you can change the time duration and some units give you the option to switch up the wavelengths you want running making them only red or just the near infrared or both.
Some panels allow you to change the intensity of the light, so you can drop the power down to 10% or 50%, whatever you want. Others offer pulsing functions, so the light will actually flicker or pulse at a set rate. There are even panels that have other wavelength colors such as blue light that may enable you to also turn the blue light on or off.
Using The Panel
Now, you've got your panel set up and turned on. So, how do you use it?
There's a lot to cover in terms of using a red light therapy panel. Safety first, so let's consider eye protection. Most companies supply goggles or glasses included in the box if you are going to be treating the face or looking towards a red light therapy panel. I do recommend you use them.
Yes, there's research showing that the red and near infrared light can actually help with particular eye problems, but overexposure to the near infrared light could potentially lead to problems down the road. Even though you don't see the near infrared light, it's there and equally intense as the visible red light.
If you're only doing a few minutes on your face, it may not seem important if your eyes are closed or you are looking away. However, that light is going to penetrate through your eyelids and into to your eyes. So I do recommend using the safety goggles.
Wavelengths In The Panel
What about wavelengths? When you hit start on your panel, energy will go to all of the LEDs typically. Yours may have red lights between 620–700 nanometers (nm), near infrared light wavelengths longer than 700 nm up to just over 1000 nm / 1 millimeter (mm), and maybe even a few LED bulbs with shorter wavelength blue lights down in the 400s.
On most panels, you can either change the output on the control panel or use its physical buttons. I generally advise people to leave them all on unless yours has a specific wavelength you don't want such as blue light that you prefer to turn off.
Almost all of us want the red and the near infrared light because both of these wavelengths are going to provide great benefits on the body which is the whole reason you got your panel. It's feasible that someone may not want one or the other for a particular reason which is why that option even exists.
Infrared light is deeper penetrating, so it may be better for systemic full body benefits. It's helpful for deeper tissue benefits such as joint pain or muscle recovery. Red light doesn't travel as far beneath the skin, so that's going to be great for skin health, wound healing, collagen production, and that sort of thing. For now, leave them both running. You can always experiment with wavelength later on.
Dosing Protocols
Now, what about distance from the panel? This question is surprisingly complex. It all ties into what we call dosing. Light Therapy Insiders has many other articles and videos for you about all the variables that go into dosing with tons of new content being created for you all the time. I hope those will all prove to be helpful as you sort out the various factors that go your decisions about dosing.
The first important dosing variable is the wavelengths. If your panel is from a reputable red light therapy company, you're going to get the right wavelengths that have been selected based upon benefits demonstrated in scientific studies.
The next determinant is the power output or the energy levels. You see, it's not just about the color of light. It's also about how much of that light you're receiving. Low-power light therapy just doesn't have the same level of benefits coming from weakly-lit LEDs as compared to high quality products with serious power output to send more beneficial light into your body.
As we learned in high school physics, the inverse square law says that the further you go away from a light source the lower the intensity of that light.
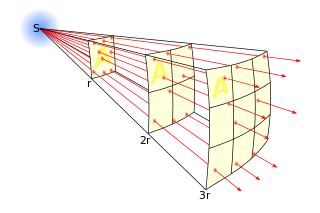
This helpful illustration is from the University of Calgary's Energy Education site. It enables us to better visualize the inverse square law where S is the source of therapeutic light coming from an LED bulb, and A is a the area of your skin. We can see that less light reaches that same area at different distances from the light source. [1]
The further away you get from the high-powered panel you invested in, the lower the dose of therapeutic light. Of course most people aren't going to be doing an activity on the other side of the room while using their panel because they want to optimise the benefits.
So how far away should you be from a panel? Here are some factors you will want to consider:
✅ Your panel's power
✅ Your skin's melatonin density
✅ Your clothing's thickness and material
✅ Your specific body part being targeted
✅ Your available time
✅ Your evaluation of the protocols used in the scientific studies
Since there are countless variables, there is no hard and fast rule in terms of how long you should use it and how far away you should stand from the panel. Anywhere between 6 to 24 inches (in) from the panel for say 5 to 10 minutes (min) is going to give you good results.
Remember though this does depend on a lot of factors. Every panel puts out a different amount of energy. A few panels have exceptionally high power output. Some panels are a lot more powerful than other panels. I cover the power readings both in my reviews here at LightTherapyInsiders.com as well as in the product comparison database. So check out those helpful resources to see your panel's power output.
But let's say you're using something like a BioMax 900. You can be 24 in away from that panel, and you're going to still get about 30 to 40 milliwatts over centimetres squared (mW/cm²) of light which is a good therapeutic dose.
The further away you go from a panel, the larger area of light coverage across your body. Here's my YouTube video about it. So then you're getting a nice blend of light rather than concentrated spots of light on the body. My best recommendation is being anywhere from say 6 to 24 in away from the LED bulbs is a good starting point.
Session Duration
When it comes to duration and deciding how long you should use it, I always recommend doing an experiment of a one or two-minute session just to see how the body reacts. Once you make sure there's no rashes or headaches and continue to feel good the next day, then try a 5 to 10-minute-long session.
It really depends upon multiple factors such as the panel size as well as what you're trying to achieve and how far away you are from that panel. If you want to keep it simple, here's a hypothetical example for you:
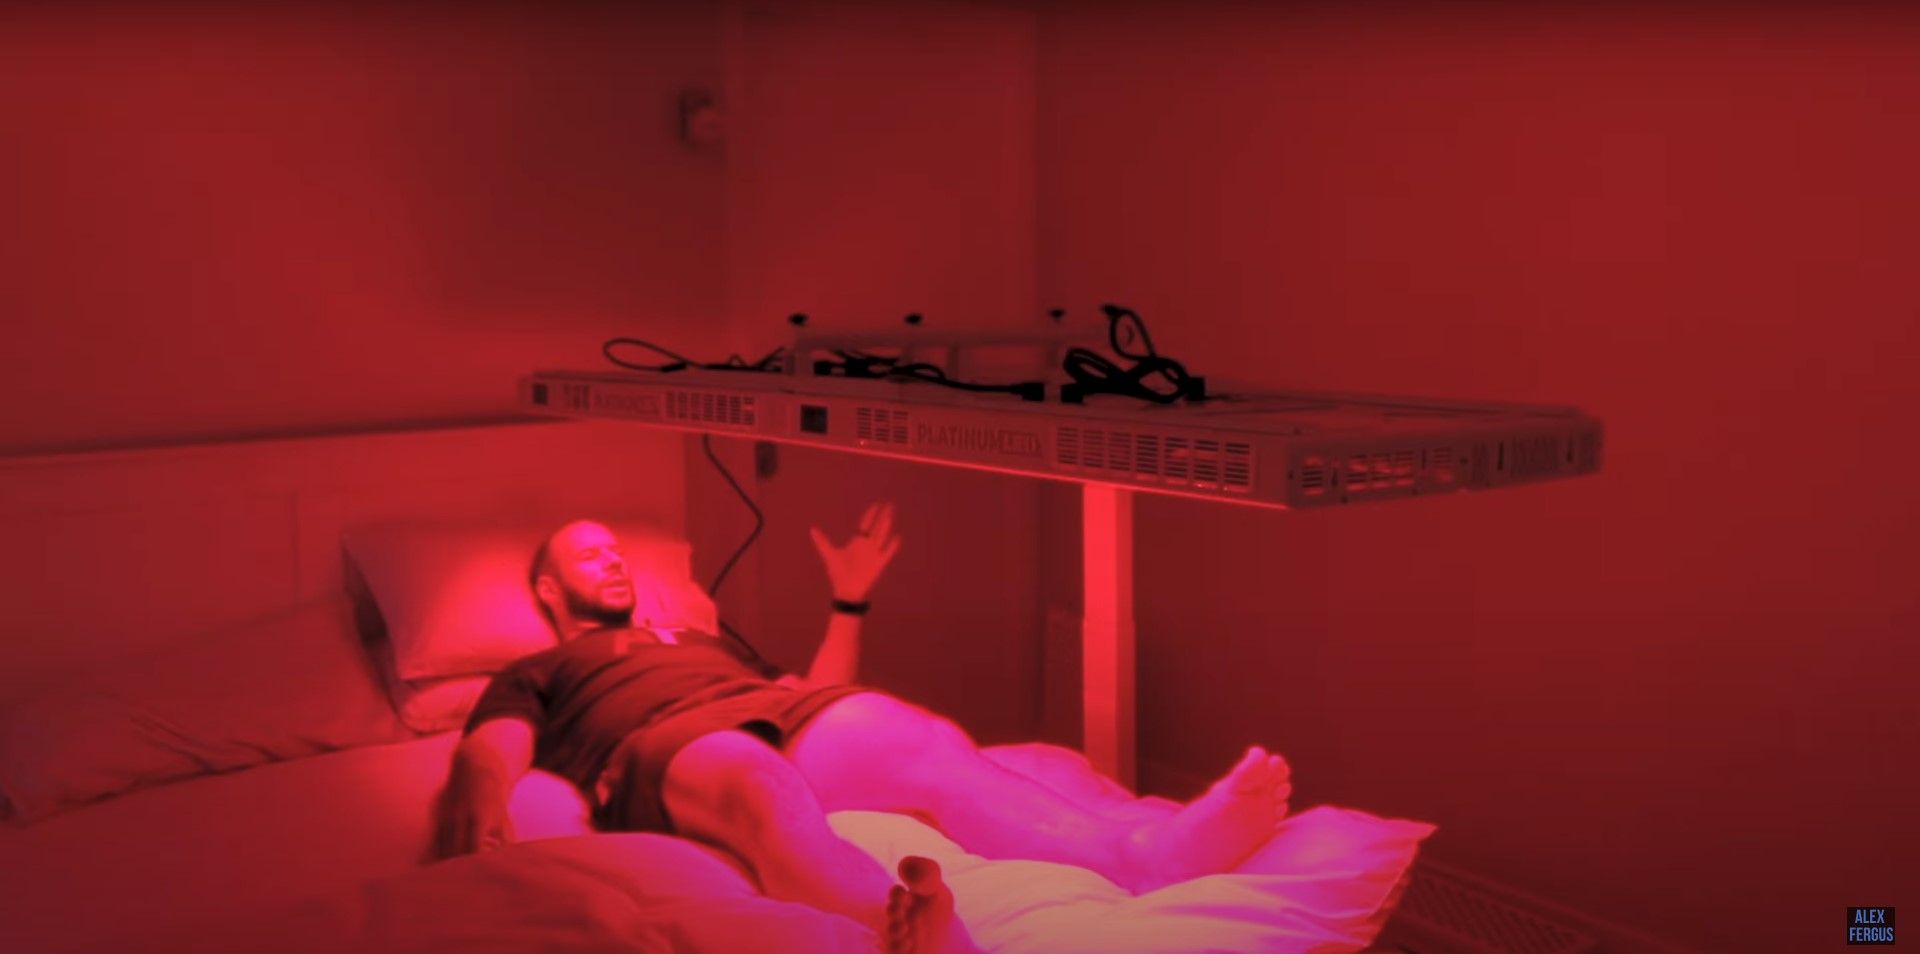
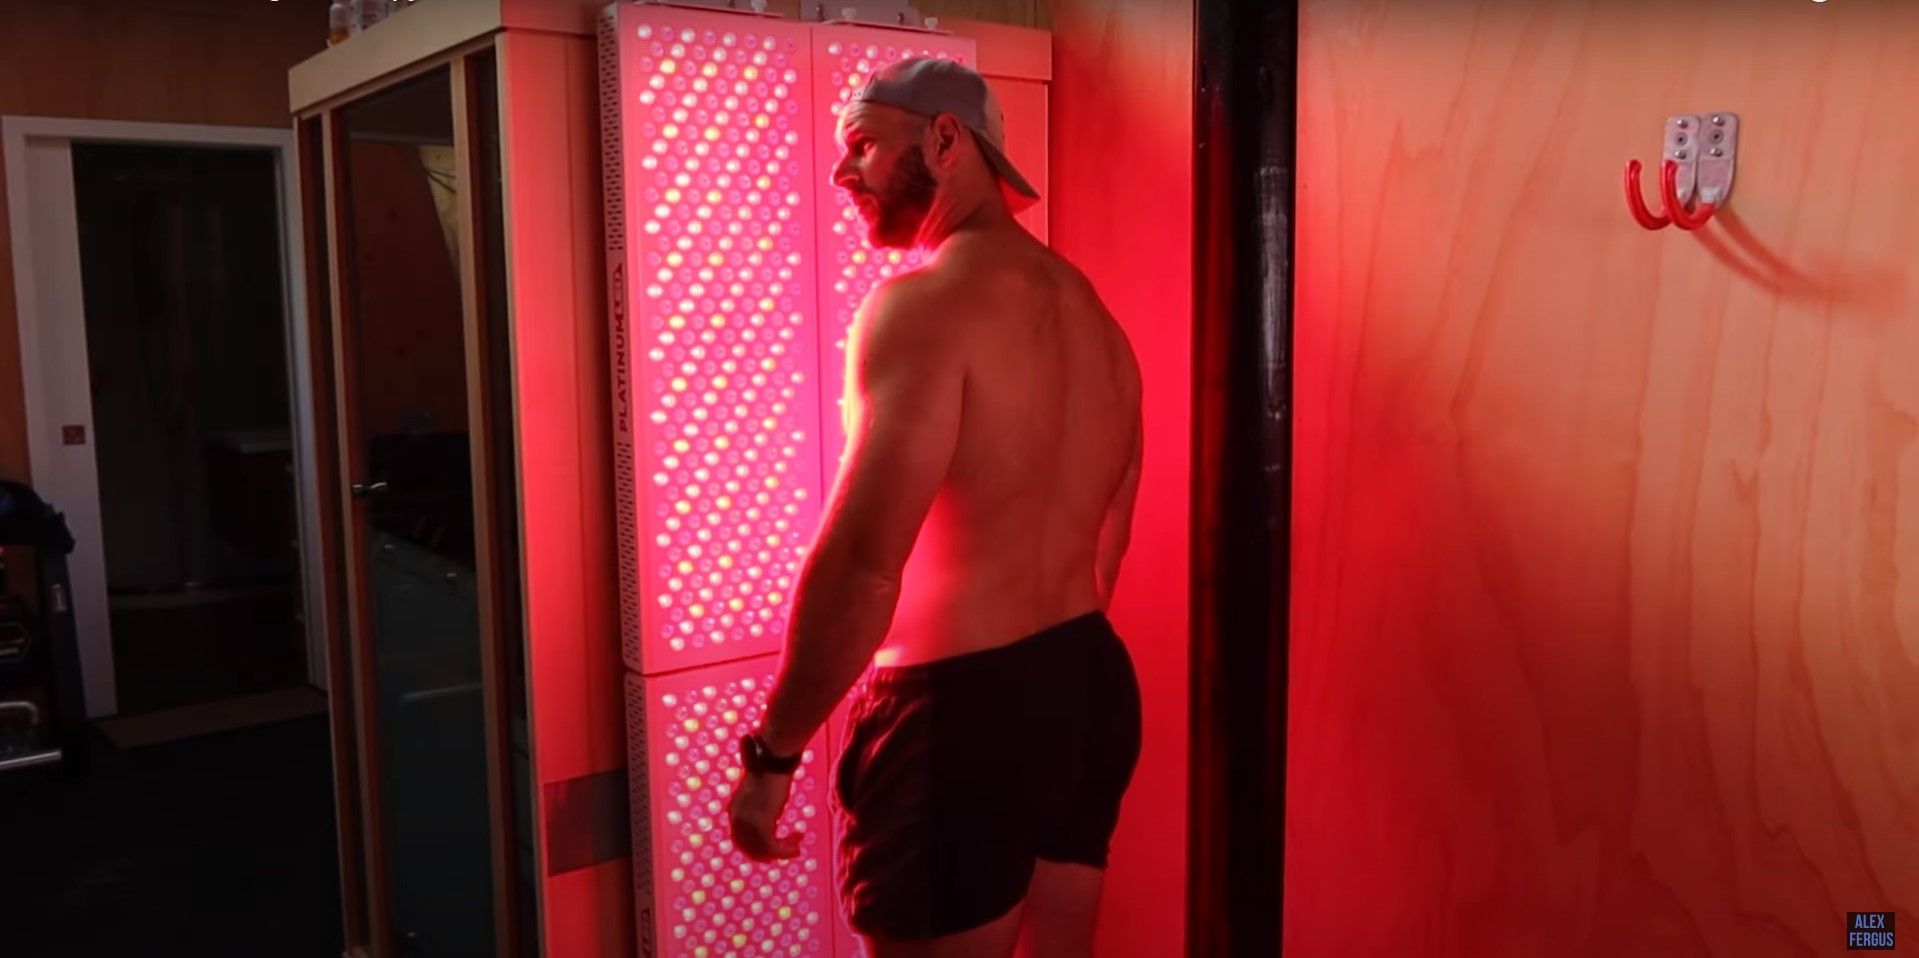
Let's say you've got one of the modern, high powered panels. I'd say stand 12 in from the panel, do 5 minutes on one particular body part, 5 minutes on another part, turn around for an additional 5–10 minutes on the back as well. That's pretty much all you need to do.
Try that for a couple of weeks to see how you're feeling. You can then experiment with longer sessions or see what differences you notice if you are closer to the panel or further away.
You really do have to experiment. I wish I could give you hard and fast scientific calculations for you to have the best possible results in the least amount of time for all the variables in your unique situation, but that complex formula has yet to be determined by scientific studies. Ultimately, your experiences from using your panel will help you triangulate those parameters even faster.
Panel Coverage
One variable I want to cover in a bit more detail is the importance of good coverage across the area you want to target. I've shared some content with more to come soon looking at what's happening to the light rays emanating from the bulbs interspersed across the surface of the LED panel.
The width of the LED panel is where most of the light is going to land on your body. So a 6 inch wide panel is not going to cover you from shoulder to shoulder. Check out this YouTube video to see more details about what my tests revealed.
As a rule of thumb, the height and width of the panel is how much light you're going to get on a similar sized area of your body. So if you want to do the entire body with just one narrow panel, you would need to do a few minutes on your left arm, a few minutes on each side of your chest, a few minutes on the right arm, and then of course a few more on either side of your spine. Then you would target any other areas like your legs as well. Here's a video of the widest panel I've reviewed yet.
What about timing? What time of day you use your red light therapy device doesn't seem to matter for most people. However, some people have found that using it too close to bed results in a bit of a stimulating effect and that added alertness has unwanted impacts on their sleep.
Other people use it right before bed to relax and unwind which helps them sleep. So definitely experiment with what works best for you. I use mine right before my training sessions about 3–4:00 in the afternoon. I find it helps me with my workout, and I sleep very well.
What about clothing? Well ideally, you want to have bare skin. I've done a YouTube video review on how much of the therapeutic light penetrates through clothing. The results are quite fascinating when you introduce the variables involved with clothing. Even the color of your clothing during the session makes a difference. Typically, if you want the best results, take your clothes off.
Session Frequency
How often should use it? There are multiple variables to experiment with. My routine is to only use my full body red light therapy panels about four to five times a week for about 10–15 minutes before working out in my home gym.
That works very well for my lifestyle as a daily routine. It gives my body a day or two off without red light therapy benefits just as with other things in my life like working out.
There's no hard science on the best schedule yet. This is simply what I've done over the years that has worked so well for me. Some people use it religiously every single day. Others like my wife only use it between one to three times a week whenever they can fit it into their schedule.
Overdose Risks
It's important that you don't overdo it. More is not always better. Standing in front of a high-powered panel for an hour is not going to give you even better results than using it for a much more efficient brief sessions. In fact, you may potentially see negative results. Likewise, please don't do 3 or more sessions a day even if they are brief 5–10 minute sessions because you you won't get additional benefits and in fact you could possibly get negative results.
Perhaps the only exception would be if you're working with a professional who is using precise targeted laser treatments to a very small area of the body to promote recovery after an injury where that professional has developed a specific protocol from their countless hours of experience in treating similar injuries.
If you're trying to use your red light therapy for a particular goal whether it's sports performance, recovery, or wound healing then of course your treatment protocol may vary. I have done many comprehensive video reviews and deep dive blog articles on red light therapy panels. So have a look at any of those links to learn more. Please leave any questions below or jump in our community's Light Therapy Insiders group on Facebook and ask us there.
What about the interaction between light therapy and prescription medications? Some medications do increase light sensitivity. If you're on a medication that has that side effect listed, I wouldn't recommend using red light therapy.
Is it wise to use light therapy during pregnancy? I recommend that you speak with your doctor. The standard recommendation is to not use red light therapy if you are pregnant. When my wife was pregnant, she actually did use some red light therapy on her face and her lower limbs, and I think once or twice on her back. However, she made sure not to shine it on her abdomen.
After Your Session
Let's say you've done your first session. What do you do now? Simply turn it off and walk away. You don't have to clean it. You don't have to do anything with the controls other than turn off the lights.
Some people just turn it off at the control panel. I like to turn mine off at the wall, or at the surge protector unit, or with the master switch on the panel. That's because I've noticed fans in some panels still run even when the lights aren't shining which is a waste of electricity and unnecessary background noise.
Leaving the fans on 24/7 would also shorten the lifespan of the panel. Since there's a convenient master switch on the panel, I don't see any reason why you wouldn't turn it off.
It's nice that the panels normally don't require cleaning unless you've got a lot of dust in your environment. If that's the case, give it a quick dust since you don't want any dirt or moisture getting into the panel. Basically, they're very low maintenance.
Special Use Scenarios
The first alternative way of using your panel is the ambient mode if you just like having a red glow in your room or want it to light up your room without blue light before bedtime to optimize your sleep. A lot of panels have an ambient mode or a low intensity mode.
You could drop the red light right down to say 1% and turn off the near infrared light completely for a nice red light glow in the room. The downside is that it's typically on a 20 to 30 minute timer, so the fans are still running after the lights go off. If you only want a panel for ambient mode, you're better off saving some money and just getting a good red light bulb.
What About Using Panels In Combination With Saunas
Unfortunately, light therapy panels aren't designed to go in saunas. There are a couple of products which are are designed to go in a high heat, high moisture environment. Here are the links to those reviews.
So if you do want to use red light therapy in the sauna get one of those specialty products. Otherwise, just do what I did for years and use your red light therapy as the sauna is heating up. Then do your sauna session.
Finally, what happens if you want more of a targeted approach? What is the best way to help your really sore shoulder or something else like hair growth? Does a specific goal impact your light therapy protocols and routines?
It does change things because of course you can focus that light on that particular area and either add time overall or else spend less time treating the rest of your body. It may also involve repositioning yourself or the panel to hit a particular part of your body.
You could even buy a particular device designed for specific purposes and here are a few such products:
✅ a joint wrap for your knee
✅ a hair growth helmet for your scalp
✅ a skin health mask for your face
✅ a brain health helmet for your head

There are many niche products designed to help with your specific needs. The panels have multiple benefits for the entire body, but there are many products that are specially designed to do only one thing exceptionally well.
Additional Resources For You
I really hope this article has helped you get started with your red light therapy panel. If you have more questions leave them below. Light Therapy Insiders has so many resources available to you:
✅ article reviews
✅ a comprehensive comparison guide
✅ a products database
✅ a light therapy studies database
✅ a buyer's resource tool
Plus there are countless other experiments and reviews from countless products tested over the years.
Sit back, relax and enjoy watching my light therapy playlist covering my comparison of a dozen different panels. Also, if you've just bought a product and want to learn more about it, you're going to love all the videos and articles we have in store for you that are coming down the pipeline.
Feel free to share some feedback with me about what matters to you and what doesn't because I shape my content in response to requests from my community. I'm glad you stopped by LightTherapyInsiders.com to enjoy all the complementary resources. I hope to see you back here again soon!
If You Found This Interesting, You May Also Enjoy:
36 Powerful Red Light Therapy Benefits
Red Light Therapy or LLLT Studies Datasheet
Excel Sheet for Comparing Different Panels to Their Competition
My Red Light Therapy Product Database
All the products shown or mentioned in this article can be found here.
My Helpful Facebook Group Community
Chat and share pics with other interesting light therapy insiders on your same wavelength so that we can all benefit from sharing our N=1 experiences.


